me made / dagger ring

sterling silver and brass / dagger ring.

shown: [top] finished, [bottom] ring mid production


lately

for years I've made and sold me-made earrings. all I seem to make now that I'm soldering is me-made rings.

I'm working with fine silver, sterling silver, and 14k gold filled metals and I'm loving the exploration of mixing metals


vintage haul

1. two vintage boxes. one sewing machine drawer, one pyrography California poppy box
2. wood tray with shimmering butterfly wings under glass
3. tiny kilim rug
4. two tiny chairs for the kids that visit our apartment


snippets

1. scene from the new neighborhood / 2. Pirate Kitty / 3. soldering eye-wear / 4. Inner Richmond Farmers Market / 5. Alemany Flea Market rugs / 6. Alemany Flea Market purchase / 7. first handmade bezel-set stone ring


snippets

1. J on Little Mommy's couch pre Father's Day dinner / 2. Little Mommy's floral arrangement / 3. handpicked cherries / 4. four corners sidewalk chalk / 5. glowing greenery / 6. table setting before the guests and food arrived at A16 -- they not only accommodated my gluten free needs, they did it with a smile and amazing attention to detail / 7. tiny brass states ready to be made into rings


admire / make / covet

admire: julie vos's Tribeca Cuff
make: simple teardrop stacking ring. I'm on a soldering kick these these days...
covet: industrial vintage stool for Joseph's workspace


f*ck it ring / diy

I've been admiring wire wrapped 'fuck it' rings and I figured they couldn't be that hard to make. the project took me about 30 minutes in total (it was my first attempt)

the adjustable version of these rings available here 

you will need:

1. wire -- I used 20 gauge half hard sterling silver wire -- probably 1 foot of wire should be enough
2. pliers -- I used metal flat and round nose pliers but you could use non-marring pliers if you don't want your pliers to leave marks
3. ring mandrel
4. mallet

diy:

step 1:
shape the letters one at a time for your first ring

step 2:
wrap your ring around your ring mandrel according to your desired size and cut the wire 1/4" longer than the desired length -- leave ever more wire if you think you'll need to do more size adjustment
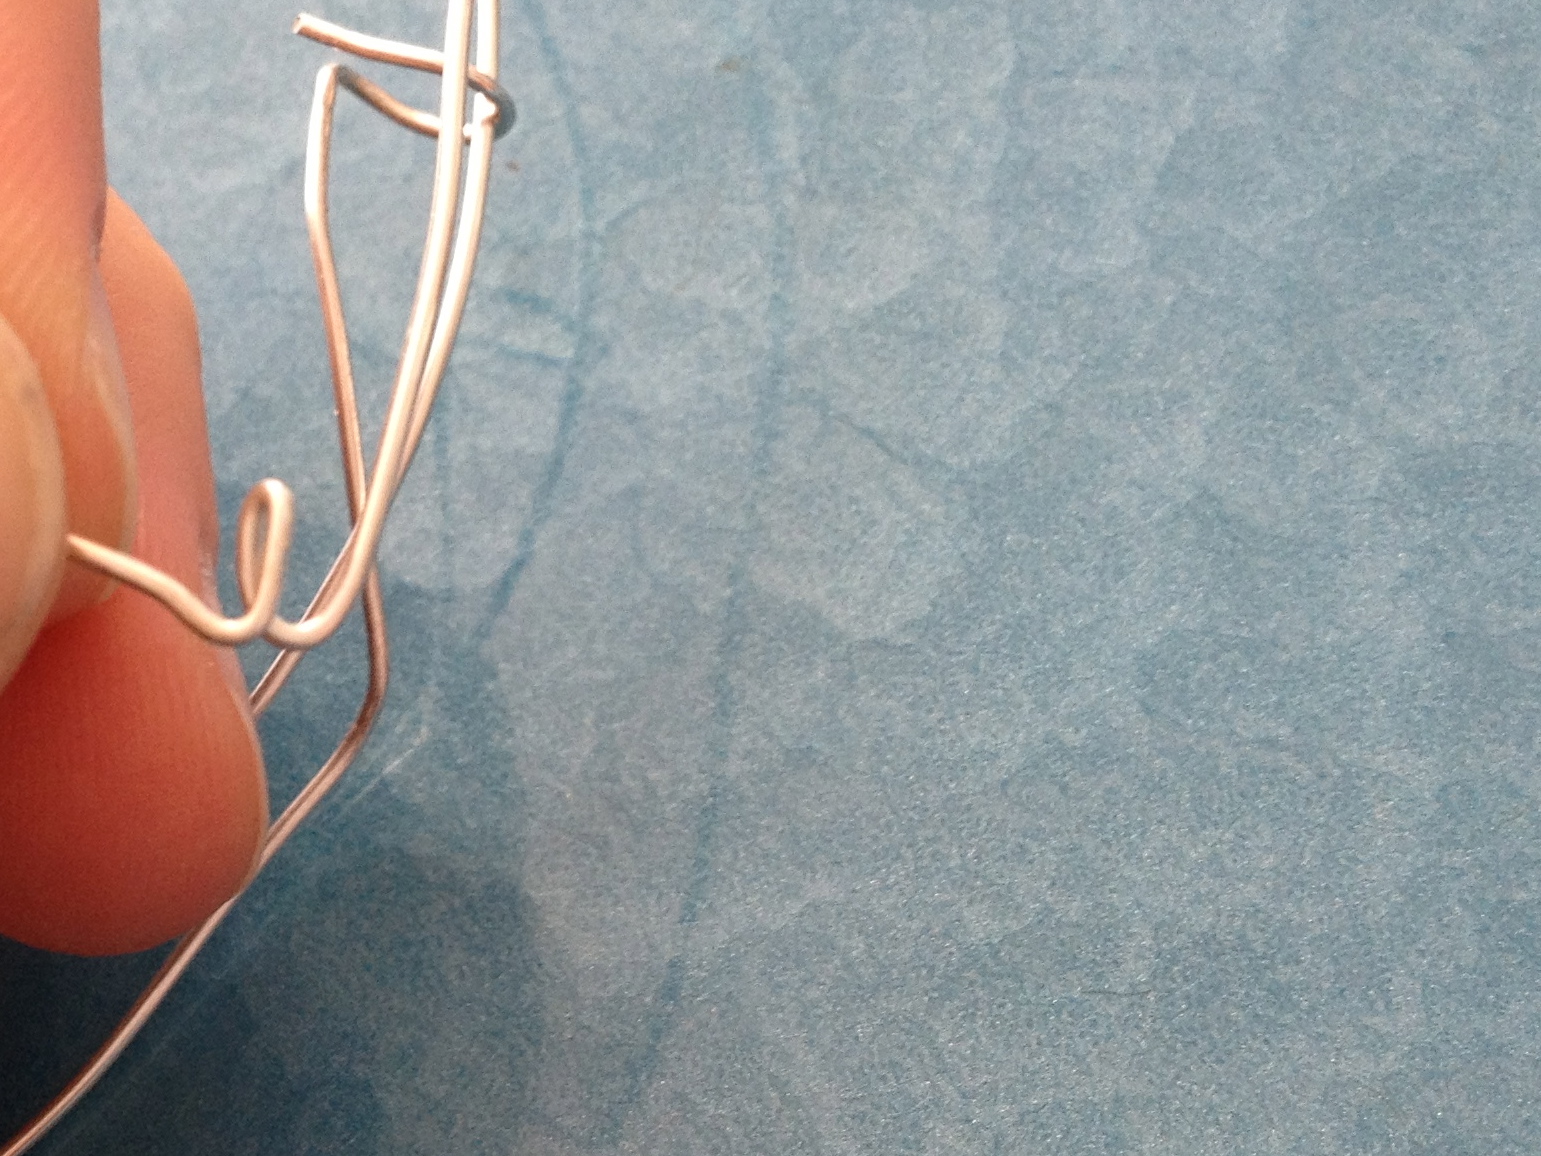
step 3:
make a loop at one end of the wire and another loop at the other end of the wire -- this is where the extra wire comes in handy. link these loops together while the ring is on the mandrel to make sure you achieve your desired ring size

step 4:
gently beat ring with mallet while it is on the mandrel -- this will help harden the metal so that the ring keeps its shape

step 5:
repeat steps 1-3 for your second ring


our place

glimpses of red from our living room.

1. vintage rug / 2. vintage trash can / 3. shelf Joseph built & temple rubbing Little Mommy brought back from her trip to Southeast Asia / 4. make art not war poster -- hanging over my tiny desk